Raised Bed Gardening Guide: How to Build, Fill & Manage Your Beds
Building, filling, and managing raised beds for year-round vegetable production
Insights Most Growers Overlook
- Embrace the Power of Deep Roots: While many focus on surface crops, incorporating deep-rooted vegetables (like carrots, parsnips, or even daikon radishes) can naturally break up compacted layers, improve soil structure, and bring up nutrients from deeper within your raised bed, benefitting subsequent crops.
- Strategically Use Living Mulches/Groundcovers: Instead of bare soil, plant beneficial living mulches or low-growing groundcovers between your primary crops. This helps suppress weeds, retain moisture, regulate soil temperature, and some can even fix nitrogen or attract beneficial insects.
- Implement Micro-Climates Within Beds: Utilize the varying sun exposure and wind patterns within a single raised bed to your advantage. Taller plants can provide shade for heat-sensitive crops, and strategic placement can protect delicate seedlings from harsh winds, extending your growing season or allowing for diverse plantings.
- The Benefits of a ‘Working’ Compost Layer: Instead of just mixing compost throughout, consider dedicating a small, central section of a larger raised bed for a mini-compost pile. You can bury kitchen scraps, which will slowly break down, feeding your plants directly and attracting beneficial soil organisms, turning your bed into a dynamic, self-feeding ecosystem.
Key Takeaways
- A standard 4×8 ft raised bed holds roughly 12 cubic feet of growing mix — enough for 32 lettuce plants or 5 tomato plants.
- The ideal raised bed soil blend is 60% topsoil, 30% compost, and 10% perlite — this drains 40% faster than native clay soil.
- Beds 10–12 inches deep suit 90% of vegetables; root crops like carrots need at least 16 inches.
- Raised beds warm up 8–10°F faster than in-ground soil in spring, extending your growing season by 3–4 weeks each year.
- Proper plant spacing in a 4×8 bed can produce up to 4× more yield per square foot than traditional row gardening.
Raised bed gardening gives you direct control over soil quality, drainage, and plant spacing — three factors that determine how much food your garden actually produces. Unlike in-ground beds, raised beds let you build the exact growing environment your vegetables need from day one.
The main difference between a struggling garden and a productive one often comes down to soil. Native soil is usually compacted, poorly draining, or nutrient-depleted. Raised beds bypass all of that completely. You fill them with exactly what plants need and maintain that quality season after season.
In this guide, you’ll learn how to build a structurally sound raised bed, what soil mix to fill it with, how to manage nutrients through the season, and how to troubleshoot the 7 most common problems growers run into. Everything is specific and actionable — no vague advice.

Quick Reference: Raised Bed Parameters
| Parameter | Recommended Range | Notes |
|---|---|---|
| Soil pH | 6.0 – 7.0 | Most vegetables thrive in slightly acidic to neutral soil |
| Bed Width | 3 – 4 feet | Reach the center from both sides without stepping in |
| Bed Depth | 10 – 16 inches | 16 in. for carrots/parsnips; 10–12 in. for most others |
| Bed Length | 4 – 12 feet | 8 ft is the most common manageable size |
| Watering | 1 – 1.5 inches/week | More in summer heat; check 2 in. deep before watering |
| Soil Temperature | 60 – 75°F (15 – 24°C) | Minimum 50°F for cool crops; 65°F+ for warm crops |
| Fertilizing Interval | Every 4 – 6 weeks | Use NPK calculator to dial in exact rates |
| Harvest Season Span | 8 – 10 months/year | With cold frames, achievable in most USDA zones 5–9 |
Best Materials for Building Your Raised Bed
The material you build with determines how long your bed lasts and whether it leaches anything into the soil. Each option has trade-offs in cost, durability, and effort.
| Material | Lifespan | Cost (4×8 ft) | Best For |
|---|---|---|---|
| Cedar Wood | 15 – 20 years | $60 – $120 | Best all-round choice; naturally rot-resistant |
| Pine (untreated) | 5 – 7 years | $25 – $50 | Budget builds; replace every few seasons |
| Galvanized Steel | 20 – 30 years | $80 – $160 | Permanent beds; modern appearance |
| Concrete Blocks | Indefinite | $40 – $90 | Zero maintenance; doubles as heat sink |
Avoid pressure-treated lumber made before 2004 — it contained arsenic-based preservatives. Modern ACQ-treated wood is safer, but cedar or galvanized steel remain the preferred options for food production.
Best Vegetables to Grow in Raised Beds
Raised beds suit almost every vegetable, but these four categories consistently outperform in-ground results due to improved drainage and root zone warmth.
- Leafy Greens (lettuce, spinach, chard): Shallow 6-inch roots make them ideal for raised beds. A 4×8 ft bed produces up to 24 cut-and-come-again lettuce plants. Direct sow every 3 weeks for continuous harvests.
- Root Vegetables (carrots, beets, radishes): Loose, stone-free raised bed soil lets roots grow straight without forking. Carrots need a minimum 16-inch depth and proper spacing of 2–3 inches apart for full-size roots.
- Tomatoes and Peppers: Deep beds (12+ inches) support the vigorous root systems these crops develop. A single indeterminate tomato needs at least 2 square feet of bed space and consistent moisture.
- Brassicas (kale, broccoli, cabbage): Heavy feeders that benefit most from the compost-rich raised bed mix. Broccoli needs 18 inches between plants and takes 70–90 days from transplant to harvest.
Step-by-Step: Building and Filling Your Raised Bed
-
Choose Your Location
Pick a spot that gets at least 6–8 hours of direct sunlight daily. South-facing or west-facing spots work best in the Northern Hemisphere. Avoid low-lying areas where water pools after rain. -
Decide on Dimensions
Stick to a 4-foot maximum width so you can reach the center from either side. A 4×8 ft bed is the most versatile standard size. Use the Plant Spacing Calculator to plan how many plants fit before you build. -
Build the Frame
Cut two 8-ft boards and two 4-ft boards from 2×10 or 2×12 lumber for a 10–12 inch deep bed. Pre-drill corners and secure with 3-inch galvanized screws to prevent splitting. Add corner brackets inside for extra strength if the bed is longer than 8 feet. -
Prepare the Ground
Remove grass or weeds inside the bed footprint. Lay cardboard (2 layers, overlapping by 6 inches) directly on the soil to suppress weeds for 6–12 months. Wet the cardboard thoroughly before adding soil — it decomposes and feeds earthworms. -
Calculate How Much Soil You Need
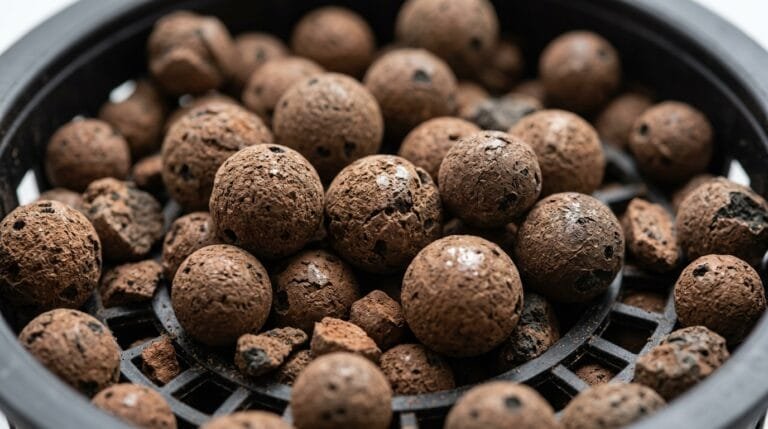
For a 4×8×1 ft bed, you need 32 cubic feet of mix. Use the Mulch/Substrate Calculator to avoid over-ordering. Fill the bottom 4 inches with wood chips or straw to reduce material costs and improve drainage. -
Mix Your Soil Blend
Combine 60% quality topsoil, 30% finished compost, and 10% perlite or coarse sand. This ratio drains well, holds moisture, and delivers the organic matter plants need. Test your soil pH before planting — target 6.0–7.0 for most vegetables. -
Set Up Irrigation
Install a drip line or soaker hose before planting — retrofitting it afterward disturbs roots. Raised beds dry out 30–40% faster than in-ground beds in hot weather. Mulch the surface with 2–3 inches of straw to cut watering frequency in half. -
Plant, Space, and Track Growth
Plant according to square-foot spacing guidelines. Use the Seed Germination Timer to track when seedlings should emerge, and the Growth Rate Tracker to monitor progress week by week through the season.
When first filling a new bed, alternate 4-inch layers of “brown” material (straw, shredded leaves) with “green” material (compost, fresh grass clippings). This mimics a compost pile and the layers break down over 4–6 weeks, adding organic matter as plants establish. Your soil will be noticeably richer by mid-season.
Soil Nutrition and Fertilizing Schedule
Raised beds start rich but deplete faster than in-ground gardens because you water more frequently — nutrients leach out with every watering. A consistent fertilizing schedule keeps production high from spring through fall.
Early Season (Spring Planting – 0 to 8 Weeks)
A good starting compost blend provides N-P-K of roughly 1-1-1, which is enough for the first 4–6 weeks without additional feeding. Add a balanced 10-10-10 granular fertilizer at the rate recommended on the label — typically 1.5 lbs per 100 sq ft — worked into the top 3 inches before transplanting. Use the Soil NPK Calculator to calculate exact amounts for your bed size.
Mid Season (Active Growth – 8 to 16 Weeks)
Heavy feeders like tomatoes, squash, and corn need supplemental nitrogen every 4 weeks during peak growth. Switch to a higher-phosphorus formula (e.g., 5-10-5) once plants start flowering to support fruit set. Top-dress with 1 inch of compost every 6 weeks as a slow-release backup to granular fertilizers.
End of Season Soil Restoration
After the final harvest, spread 2–3 inches of finished compost across the bed and work it in to 4 inches depth. Plant a winter cover crop (crimson clover or winter rye) to prevent erosion and fix nitrogen — a cover crop adds 50–150 lbs of nitrogen per acre equivalent. Use the Compost Calculator to figure out exactly how much to add based on your bed dimensions.
Common Raised Bed Problems and Fixes
Most raised bed issues are predictable and solvable within 1–2 weeks once you identify the cause correctly. Use this table as a first-diagnosis checklist.
| Problem | Likely Cause | Fix |
|---|---|---|
| Yellowing lower leaves | Nitrogen deficiency from nutrient leaching | Apply liquid fish emulsion (2 tbsp per gallon) every 2 weeks; top-dress with 1 in. compost |
| Stunted growth despite watering | Soil pH too high (above 7.5) locking out nutrients | Add sulfur at 1–2 oz per sq ft; retest pH after 3 weeks |
| Soggy soil / root rot | Drainage failure — too much clay in mix or blocked base | Fork the soil to 10 inches; mix in 20% perlite; check cardboard layer hasn’t matted |
| Wilting despite moist soil | Root rot from fungal overwatering (Pythium, Fusarium) | Reduce watering to every 3–4 days; improve drainage; remove affected plants |
| Holes in leaves, no visible insects | Flea beetles or slugs feeding at night or dawn | Apply diatomaceous earth along the bed perimeter; use slug traps baited with beer |
| No germination after 14 days | Soil temperature below 50°F or seed depth too deep | Use a soil thermometer; cover with row fleece; max planting depth = 2× seed diameter. Track timing with the Germination Timer |
| Wood sides bowing outward | Soil pressure without internal cross-bracing | Add a wooden stake or metal rod across the bed width every 4 feet; tighten existing corner screws |
Harvesting and Maximizing Yield
A well-managed 4×8 ft raised bed (32 sq ft) can produce 50–80 lbs of mixed vegetables per growing season using intensive square-foot spacing. That’s 3–5× more than the same area planted in traditional rows.
The key to maximum productivity is succession planting: as soon as you harvest a crop, replant that space immediately. Lettuce is ready in 30–45 days from seed, so a single 4×4 block can yield 4–5 harvests per season. Keep a planting calendar to ensure no space sits empty for more than 7 days.
Harvest leafy greens when outer leaves reach 4–6 inches — never take more than 30% of the plant at once. For fruiting crops like tomatoes and peppers, harvest on a regular 2–3 day schedule once they ripen to trigger continued fruit production. Use the Yield Estimator to project total production and plan storage requirements before harvest peaks.

Managing Light and Season Extension
Raised beds in partial shade produce 30–50% less than those in full sun. If your space has limited sun, stick to shade-tolerant crops: lettuce, spinach, and herbs perform well in as little as 4 hours of direct light per day.
To extend the season by 6–8 weeks in autumn, cover your beds with a low tunnel of 6-mil polyethylene or horticultural fleece. This keeps soil temperatures above 45°F on nights as cold as 25°F (-4°C). Combined with cold-hardy crops like kale and spinach, you can harvest into December in most USDA Zone 6–7 regions.
Plan your planting schedule around day length for crops like onions and garlic that are photoperiod-sensitive. Use the Light Schedule Calculator to map out optimal planting windows based on your location’s day-length changes through the year.
Advanced Tips & Daily Maintenance
- Daily Check: Verify your reservoir water level and temperature are stable.
- Weekly Maintenance: Calibrate your pH pen and verify your EC readings are accurate.
- System Flush: Remember to completely flush and replace your nutrient solution every 10-14 days to prevent salt buildup.
Common Mistakes to Avoid
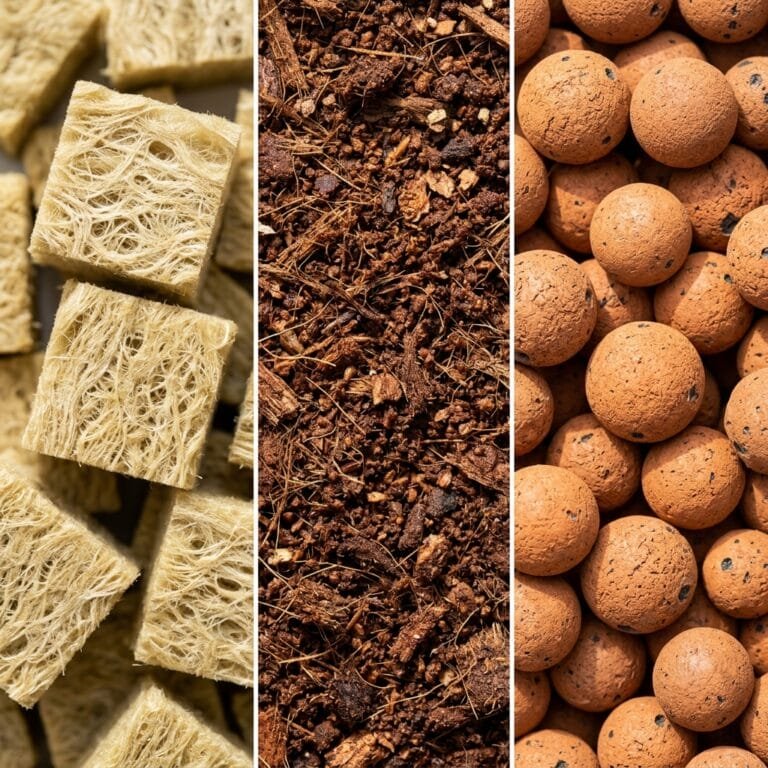
- Using Poor Quality Soil Mix: Many beginners fill their beds with only garden soil or cheap topsoil, which often lacks the necessary nutrients, structure, and drainage for optimal plant growth. Invest in a high-quality raised bed mix or create your own blend with compost, aged manure, and perlite/vermiculite.
- Overcrowding Plants: The temptation to plant too much in a new raised bed is strong. However, overcrowding leads to poor air circulation, increased disease risk, competition for nutrients, and reduced yields. Always follow recommended spacing guidelines.
- Neglecting Drainage: While raised beds generally drain well, improper construction or compacted soil layers can hinder water flow, leading to soggy roots. Ensure your bed has a clear path for water to escape and consider a coarse layer at the bottom if placed on impermeable ground.
- Forgetting to Replenish Nutrients: Unlike in-ground gardens where soil life naturally cycles nutrients, raised beds can become depleted more quickly. Regular additions of compost, organic fertilizers, and cover cropping (during off-seasons) are crucial to maintain soil fertility.