Hydroponic Nutrient Mixing Guide: How to Balance NPK Ratios
What Most Guides Miss (And What You Will Learn Here)
- The exact order to mix nutrients to prevent cloudy reservoirs.
- How to adjust NPK ratios for vegetative vs flowering phases.
- The relationship between pH levels and nutrient absorption.
- Why you must mix silica before any other additives.
- How to read and interpret advanced feeding schedules.

Insights Most Growers Overlook
- The Lockout Trap: Never mix concentrated Part A and Part B directly together; they will react and cause nutrient lockout (precipitation) that plants cannot absorb.
- Silica First: Silica must always be added first and allowed to fully dissolve before adding any other nutrients.
- Dedicated Mixing Vessels: Use a dedicated mixing bucket rather than mixing directly in your reservoir to avoid accidental overdosing and drastic pH swings.
What Most Guides Miss (And What You Will Learn Here)
- The Baseline Trap: Why ignoring your starting tap water EC guarantees you will overdose your plants.
- The A/B Precipitation Rule: Why mixing Part A and Part B together before diluting them destroys the fertilizer.
- Micronutrient Chelation: How specific pH ranges unlock iron and zinc that are otherwise invisible to roots.
- Volume Math: How to calculate exact tank capacity so you do not burn delicate seedlings in small 5-gallon systems.
- Stage Transitioning: The exact week-by-week EC shift required to move a plant from vegetative growth into heavy fruiting.
Why Exact Nutrient Calculations Matter
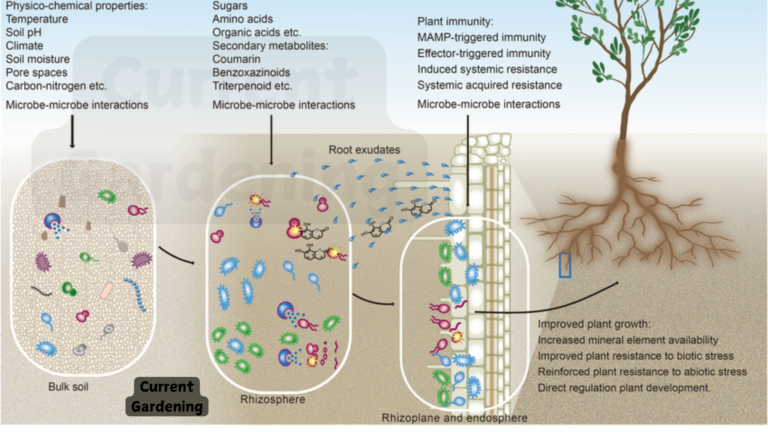
Unlike traditional soil gardening, which naturally buffers mistakes and slowly releases nutrients through microbial action, hydroponic water has absolutely zero safety net. What you pour into your reservoir is exactly what the plant absorbs instantly. If you add too much Nitrogen during the flowering phase, a tomato plant will produce massive green leaves but zero fruit. If you add too little Calcium, peppers will immediately develop blossom end rot. This directly impacts hydroponic nutrient mixing in your setup.
Because the margin of error is so small, pouring nutrients straight from the bottle without measuring is the fastest way to kill a crop. This directly impacts hydroponic nutrient mixing in your setup.
You must measure your reservoir’s exact water volume. Once you know you have exactly 4.2 gallons (rather than guessing “about 5”), you can apply precise mathematics to your feeding schedule. Proper calculations ensure that the Electrical Conductivity (EC) remains perfectly stable, maximizing growth without causing osmotic shock to the delicate root hairs. To easily convert between these measurements for your nutrient solution, use our free EC to TDS converter. This directly impacts hydroponic nutrient mixing in your setup.

Understanding NPK and Micronutrients
Insights Most Growers Overlook
- Never mix concentrated nutrient parts directly together.
- Always add Micro (part with Calcium) to the reservoir first.
- Let the water circulate for 5 minutes between adding different parts.
- Check pH only after all nutrients and additives are mixed.
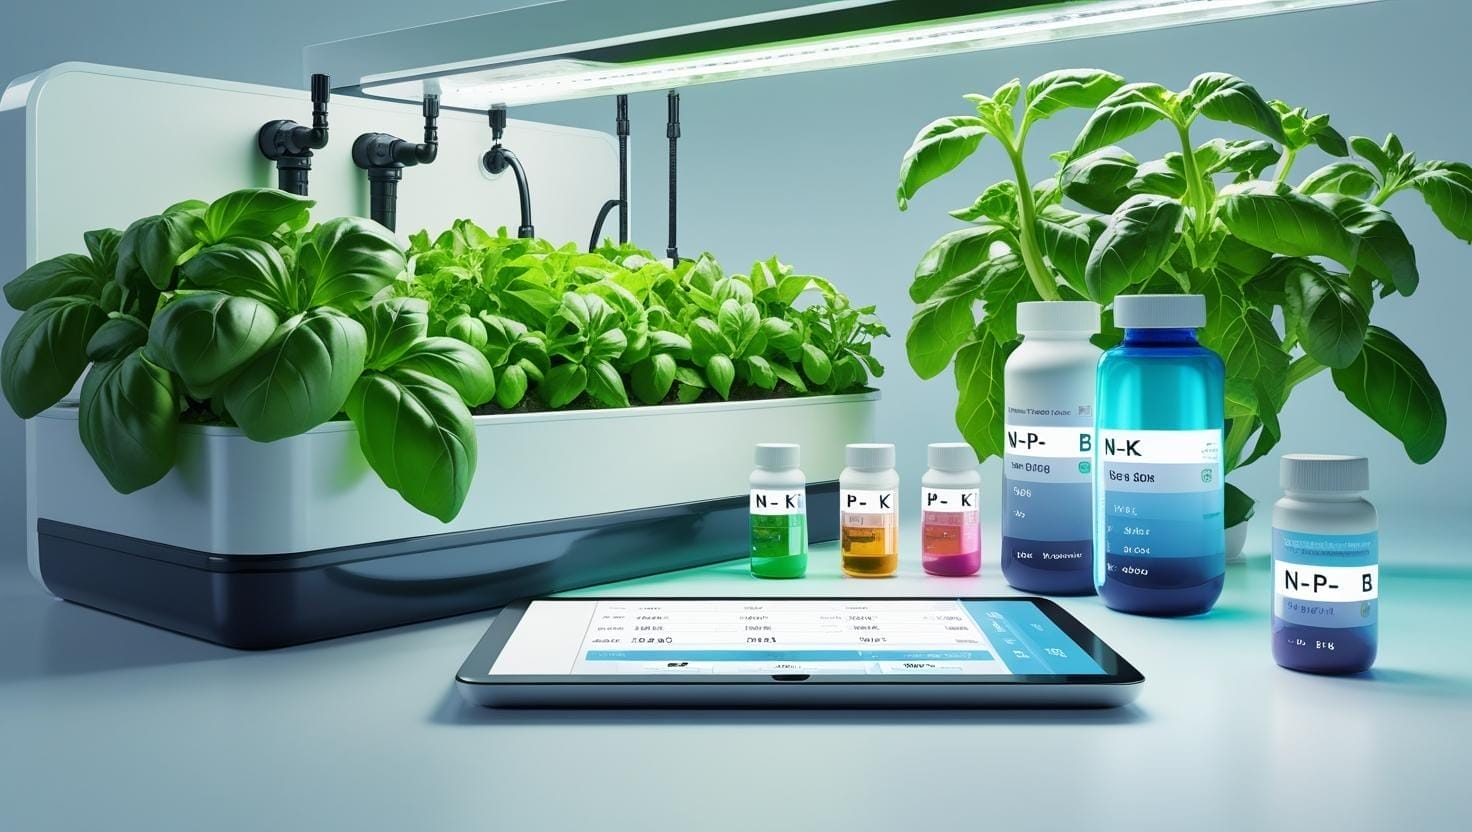
Every hydroponic fertilizer is built around the “Big Three” macronutrients: Nitrogen (N), Phosphorus (P), and Potassium (K). However, hydroponic plants also rely entirely on you for secondary macronutrients (Calcium, Magnesium, Sulfur) and trace micronutrients (Iron, Zinc, Boron, Manganese, Copper, Molybdenum). Because soil naturally contains these trace elements, dirt gardeners rarely think about them. In hydroponics, missing a single micro-element will halt growth entirely. This directly impacts hydroponic nutrient mixing in your setup.
| Nutrient Element | Classification | Primary Plant Function |
|---|---|---|
| Nitrogen (N) | Primary Macronutrient | Drives explosive leafy, vegetative growth and chlorophyll production. |
| Phosphorus (P) | Primary Macronutrient | Stimulates strong root development and triggers flower formation. |
| Potassium (K) | Primary Macronutrient | Regulates water uptake, thickens cell walls, and swells fruit size. |
| Calcium (Ca) | Secondary Macronutrient | Builds structural integrity in stems; prevents blossom end rot in fruiting crops. |
| Magnesium (Mg) | Secondary Macronutrient | The central atom in the chlorophyll molecule; essential for photosynthesis. |
| Iron (Fe) | Micronutrient | important for energy transfer; deficiency causes top leaves to turn completely yellow. |
| Zinc & Boron | Micronutrient | Assists in cell division and seed formation in mature crops. |
How Do You Calculate Nutrient Dosage?

It is always safer to under-dose than to over-dose. If a manufacturer chart recommends 5 mL per gallon of Part A, and you have a 10-gallon tank, the calculation is 50 mL. However, pro growers never add the full 100% dose immediately. Add 75% of the calculated dosage (37.5 mL), stir thoroughly, and test the water with an EC meter. You can always add more, but removing excess nutrients requires dumping the tank. This directly impacts hydroponic nutrient mixing in your setup.
Common Mistakes to Avoid
- Mistake: Mixing Part A and Part B together in a small cup before pouring into the tank.
Fix: Always dilute Part A completely in the main reservoir before adding Part B. - Mistake: Adjusting pH before adding nutrients.
Fix: Add all fertilizers first, as they will naturally lower the water’s pH, then make your final pH adjustment. - Mistake: Using a TDS meter without knowing its conversion factor.
Fix: Always measure in absolute EC (mS/cm) to avoid the confusion between the 500 and 700 PPM scales.
The Golden Rule of Mixing Order
Hydroponic nutrients are sold in two or three separate bottles (Part A, Part B, Part C) for a critical chemical reason. This directly impacts hydroponic nutrient mixing in your setup.
Part A typically contains Calcium Nitrate, while Part B contains Phosphates and Sulfates. If you mix highly concentrated Calcium and highly concentrated Phosphorus together, they undergo a chemical reaction and form Calcium Phosphate (which is essentially limestone). This solid white precipitate will sink to the bottom of your tank, permanently locking both nutrients out of the water.
To prevent precipitation, you must follow the correct sequence. First, fill your tank with pure water. Add any Silica supplements first and let them dissolve for 15 minutes. Next, add your Part A nutrient, stirring the reservoir vigorously until it completely disappears. Only then should you pour in Part B. By diluting them in the massive volume of water separately, they remain in a liquid, bio-available state for the plant roots.
Adjusting Ratios for Growth Stages

A tomato seedling requires a drastically different nutrient profile than a mature, 6-foot-tall fruiting tomato plant. During the early weeks, plants demand high Nitrogen to build leaves and stems. As they transition into the flowering phase, Nitrogen demand plummets, and the plant becomes incredibly hungry for Phosphorus and Potassium to build heavy fruits. Adjusting your calculations weekly is the secret to maximum yields.
| Growth Phase | Target EC (mS/cm) | Ideal N-P-K Ratio |
|---|---|---|
| Germination (Week 1) | 0.0 – 0.2 (Plain Water) | None needed (seed has energy) |
| Early Seedling (Week 2-3) | 0.4 – 0.6 | 2-1-2 (Mild Nitrogen) |
| Peak Vegetative (Week 4-6) | 1.2 – 1.8 | 3-1-4 (High Nitrogen) |
| Pre-Flower / Transition | 1.8 – 2.2 | 2-2-4 (Balanced) |
| Early Bloom / Fruiting | 2.2 – 2.6 | 1-3-4 (High Phosphorus) |
| Peak Fruiting | 2.5 – 3.0 | 1-2-5 (High Potassium) |
| Pre-Harvest Flush | 0.2 – 0.4 | Plain pH’d Water |
Common Troubleshooting
Knowing how to fix common nutrient issues requires troubleshooting carefully. Watch for these visual and chemical symptoms.
| Issue & Symptom | Root Cause | How to Fix It |
|---|---|---|
| Nutrient Burn: Brown, crispy, curling leaf tips. | EC is severely over the target limit. | Drain 30% of reservoir and replace with plain water. |
| Nitrogen Deficiency: Lower, older leaves turning pale yellow. | Plant is cannibalizing old leaves for mobile nitrogen. | Increase Part A dosage slightly to raise overall EC. |
| Iron Lockout: Top, newest leaves are bright yellow with green veins. | pH has drifted above 6.5, locking out iron. | Use pH Down to lower water pH to 5.8 immediately. |
| Calcium Deficiency: Crinkled new leaves; blossom end rot on tomatoes. | Insufficient calcium or poor transpiration (high humidity). | Add a Cal-Mag supplement or increase airflow/VPD. |
| Phosphorus Deficiency: Leaves turning unusually dark green or purple. | Cold water temperatures (below 60°F) locking out P. | Use a reservoir heater to maintain 68°F water temps. |
| Cloudy Water: White flakes floating in the reservoir. | Nutrient precipitation from poor mixing order. | Dump the tank, clean, and follow the A/B mixing rule. |
| Drooping Plants: Plants wilting despite roots being in water. | Root rot or extreme salt toxicity choking roots. | Check roots for brown slime; drop EC drastically. |
Advanced Tips & Daily Maintenance
Calculating your nutrients correctly on day one is only half the battle.
As plants transpire, they drink water faster than they consume fertilizer salts. This means on day three, your water level will be lower, but your EC will be dangerously high. You must monitor your reservoir daily. The golden rule of daily maintenance is: if the water level drops and EC rises, top off the tank with plain, pH-balanced water to dilute the salts. If the water level drops and EC drops, top off with a full-strength nutrient mixture.
Stop Guessing Your Nutrient Dosages
Reading about nutrient mixing is only half the battle. To guarantee you don’t burn your roots, you must calculate the exact milliliter dosage based on your specific reservoir size and target EC. We built a free tool to do the math for you. Use our Hydroponic Nutrient Calculator to instantly generate a custom feeding schedule for your crop.
Frequently Asked Questions
Written by Wara Danish
Wara Danish is a hydroponic grower and horticultural researcher with 8+ years of hands-on experience in DWC, NFT, recirculating, and soil systems. She designs tools and publishes guides at currentgardening.com to help indoor growers optimize their yields.
About the Author: Wara Danish
Wara Danish is a hydroponic grower and horticultural researcher with 8+ years of hands-on experience in DWC, NFT, recirculating, and soil systems. She designs tools and publishes guides at currentgardening.com to help indoor growers optimize their yields.
Continue Learning

FAQ
Should I use warm or cold water to mix nutrients?
Room temperature water (65F – 70F) is best. Very cold water makes dry salts incredibly hard to dissolve. Hot water holds less oxygen and can kill beneficial bacteria additives.
Key Takeaways
- Mixing order dictates whether nutrients remain dissolved or precipitate out.
- Tailor your NPK balance to match the specific crop and growth stage.
- Regularly calibrate your EC and pH meters for accurate mixing.
Save this guide for later!
Planning your indoor garden? Pin this cheat sheet to your favorite Pinterest board so you never lose these steps.

Frequently Asked Questions
Written by Wara Danish
Wara Danish is a hydroponic grower and horticultural researcher with 8+ years of hands-on experience in DWC, NFT, recirculating, and soil systems. She designs tools and publishes guides at currentgardening.com to help indoor growers optimize their yields.
Free Tool: Nutrient Mixing Calculator
If you are growing leafy greens, see our specific lettuce-specific nutrient ratios.
Stop guessing! Download our free Nutrient Mixing Calculator to get the exact numbers for your grow room.