Want to grow fresh greens, herbs, and vegetables faster than in soil — and right in your home? A hydroponics system lets you garden without dirt, using nutrient-rich water to grow plants year-round. This beginner-friendly guide will walk you through the types of hydroponics systems, the best plants for hydroponics, and step-by-step instructions to set up your own DIY indoor or outdoor hydroponic garden. Whether you’re starting with a cheap hydroponics setup or planning a larger grow space, you’ll learn how to handle nutrients, pH, lighting, and maintenance for healthy, high-yield plants.
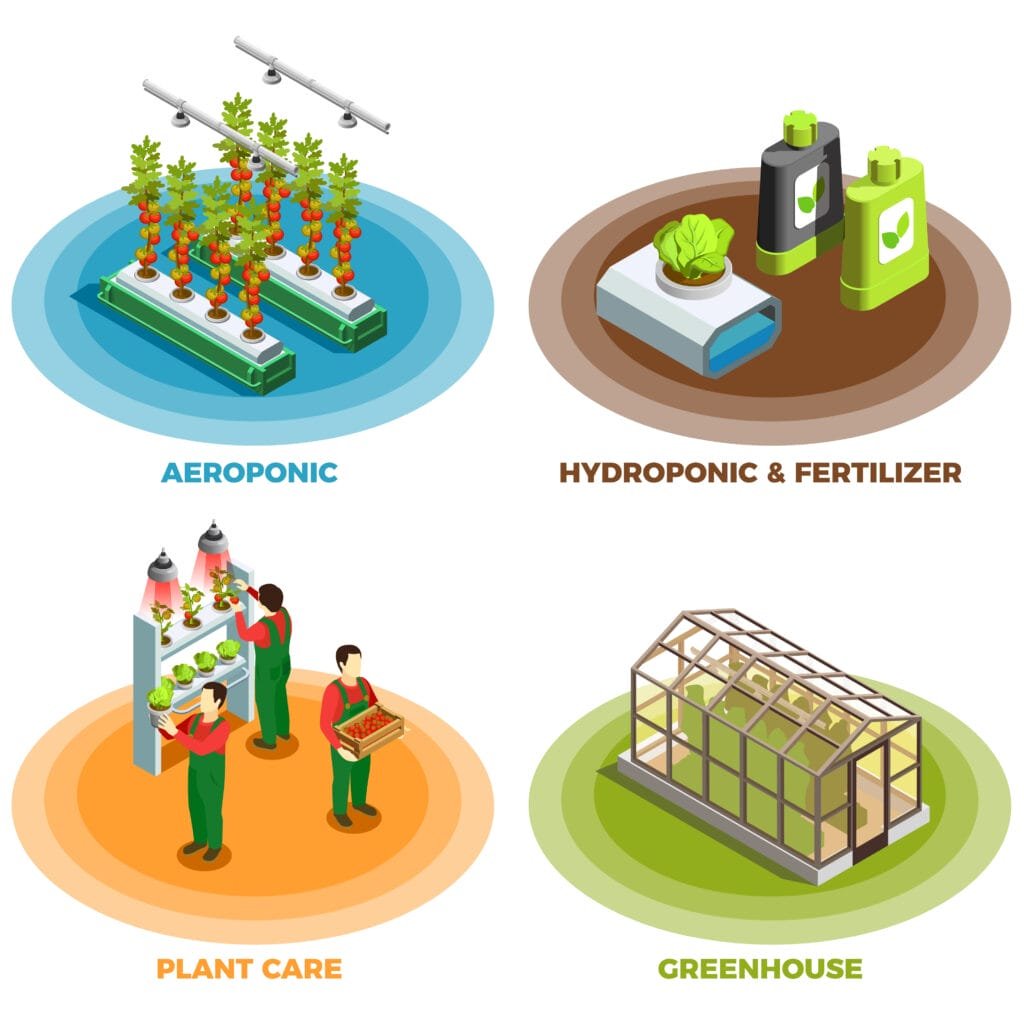
Table of Contents
- What Is Hydroponics?
- How Hydroponics Works (in plain English)
- Key Benefits
- Comparison Table: Hydroponic System Types
- Types of Hydroponic Systems
- Best Plants to Start With
- Step-by-Step: Set Up Your First System
- Nutrients, pH & EC — Simple Rules
- Lighting & Environment
- Common Beginner Mistakes
- Budget Setup Example
- Common Problems & Fixes
- Maintenance Schedule
- Tools & Supplies Checklist
- FAQs
- Related Guides on CurrentGardening
What Is Hydroponics?
Hydroponics is a way to grow plants without soil. Instead of digging roots into dirt, plants are supported by a neutral medium like rockwool, clay pebbles, or coco coir while their roots receive a nutrient-rich water solution. Because the nutrients are delivered directly to the roots, plants grow faster, healthier, and more consistently.
How Hydroponics Works
Plants need water, oxygen, light, and balanced nutrients. Hydroponics delivers these straight to the root zone:
- Water carries nutrients directly to the roots.
- Oxygen comes from air pumps, surface movement, or nutrient misting.
- Nutrients replace what soil would naturally provide.
- Light powers photosynthesis — from the sun or LED grow lights.
Key Benefits
- Faster growth & reliable yields than soil gardening.
- Space-smart — perfect for balconies, countertops, or shelves.
- Water-efficient — recirculating systems reuse water.
- Cleaner & low-weed — fewer pests without soil.
- Year-round growing indoors with stable light and temperature.
Comparison Table: Hydroponic System Types
| System Type | Cost | Difficulty | Best Crops | Pros | Cons |
|---|---|---|---|---|---|
| DWC (Deep Water Culture) | Low | Easy | Lettuce, basil, greens | Cheap, beginner-friendly | Needs aeration, temp-sensitive |
| NFT (Nutrient Film Technique) | Medium | Medium | Lettuce, spinach | Efficient, continuous harvest | Flow interruptions risky |
| Ebb & Flow | Medium | Medium | Mixed crops | Flexible, strong roots | More parts, plumbing needed |
| Drip | Medium-High | Medium | Tomatoes, peppers, strawberries | Targeted feeding, scalable | Emitters clog, higher cost |
| Wick | Low | Very Easy | Herbs, microgreens | No power needed, ultra-simple | Slower growth, small yield |
| Aeroponics | High | Advanced | Fast greens, herbs | Max oxygenation, rapid growth | Equipment heavy, outage risk |
Types of Hydroponic Systems
There’s no single “best” hydroponic system — the right one depends on your budget, space, time, and the crops you want to grow. Here’s how each works.
1) Deep Water Culture (DWC)
How it works: Plants sit in net pots in a lid above a nutrient solution. The roots hang directly into the water, which is continuously oxygenated by an air pump and air stone.
Best for: Leafy greens like lettuce, spinach, and basil. Can also grow tomatoes with extra plant support.
- Pros: Very simple and cheap; few moving parts; great for beginners.
- Cons: Water temp must stay cool; needs constant aeration.
Pro tip: Pairs perfectly with Hydroponic Lettuce and Hydroponic Basil.
2) Nutrient Film Technique (NFT)
How it works: A thin film of nutrient solution flows continuously along slightly sloped channels, bathing root tips while leaving most roots exposed to air for oxygen.
Best for: Fast-growing greens (lettuce, spinach) and baby herbs.
- Pros: Efficient with water/nutrients; continuous harvests.
- Cons: Pump outages can dry roots quickly; precise leveling required.
Pro tip: Ideal for vertical setups like a Hydroponic Tower.
3) Ebb & Flow (Flood & Drain)
How it works: A grow tray periodically floods with nutrient solution from a reservoir, then drains back, letting roots alternate between nutrients and oxygen.
Best for: Mixed gardens — herbs, leafy greens, and many fruiting crops.
- Pros: Flexible media choice; strong root development.
- Cons: Needs more plumbing and a timer; drainage issues can waterlog roots.
4) Drip System
How it works: A pump delivers nutrient solution via small tubes directly to each plant’s root zone. Excess solution recirculates to the reservoir or drains away.
Best for: Larger fruiting plants like tomatoes, cucumbers, and peppers.
- Pros: Precise feeding; scales well for bigger gardens.
- Cons: Emitters can clog; slightly higher cost and setup time.
Pro tip: Great for Hydroponic Tomatoes, Hydroponic Strawberries, and Hydroponic Broccoli.
5) Wick System
How it works: A passive wick draws nutrient solution from the reservoir up to the plant’s root zone — no pump or electricity required.
Best for: Small herbs, microgreens, and houseplants.
- Pros: Ultra-simple, low cost, kid-friendly.
- Cons: Limited to small plants; slower growth than active systems.
6) Aeroponics
How it works: Roots dangle in the air inside a chamber and are misted regularly with nutrient solution, maximizing oxygen access.
Best for: Advanced growers aiming for speed and efficiency.
- Pros: Extremely efficient with water/nutrients; rapid growth potential.
- Cons: High-pressure pumps/nozzles; sensitive to outages — roots dry quickly if misting stops.
Best Plants to Start With
When you’re new to hydroponics, choose plants that grow quickly, don’t need heavy support, and forgive small mistakes.
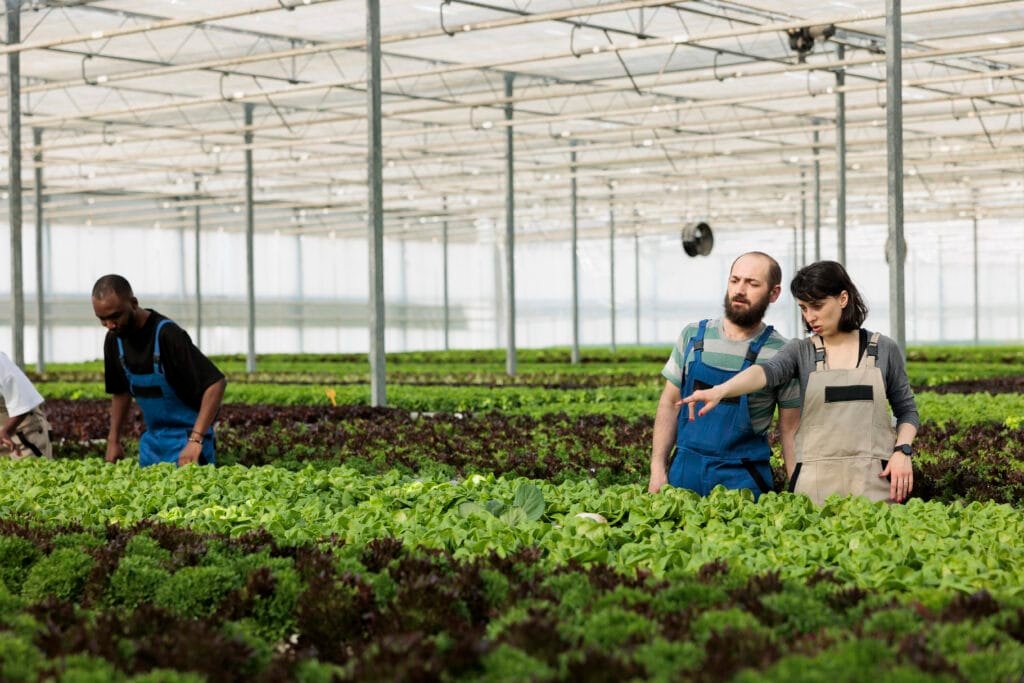
Leafy Greens
- Lettuce — fast, reliable, thrives in most systems.
- Spinach — prefers cooler temps and slightly lower nutrient strength.
- Kale — hardy and productive with long harvest windows.
- Swiss Chard — colorful and great for cut-and-come-again harvests.
Herbs
- Basil — hydroponic superstar; prolific producer.
- Mint — very forgiving; wide pH tolerance.
- Cilantro — quick but heat-sensitive; keep cooler.
- Rosemary — slower, woody herb; rewards patience and pruning.
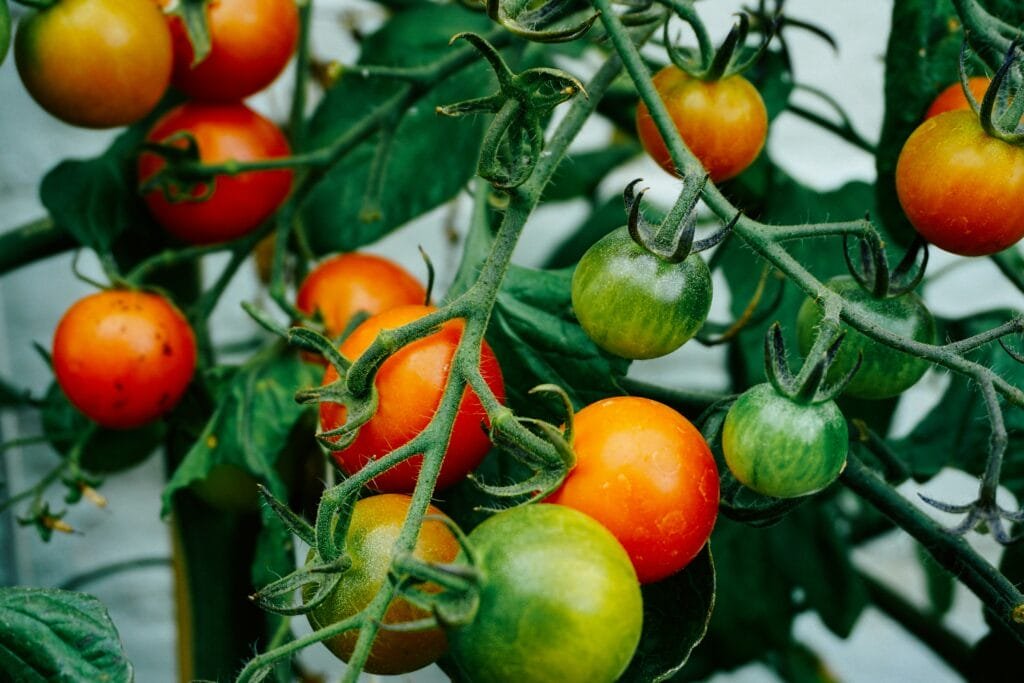
Fruiting Crops
- Tomatoes — need strong light and support; drip or ebb & flow recommended.
- Cucumbers — rapid once established; trellis for support.
- Peppers — steady warmth and bright light.
- Strawberries — compact and sweet; ideal in NFT or vertical systems.
- Peas — quick climbers; love cooler weather.
Explore crop-specific guides: Hydroponic Lettuce · Hydroponic Basil · Hydroponic Herbs · Hydroponic Strawberries · Hydroponic Tomatoes · Hydroponic Broccoli · Hydroponic Rosemary
Step-by-Step: Set Up Your First System
- Choose a system: Quick start — DWC or Wick. Scalable — NFT or Drip.
- Gather gear: Reservoir, net pots, medium, nutrients, pH kit, and light if indoors.
- Rinse medium: Wash clay pebbles/perlite/rockwool to remove dust.
- Germinate seeds: In rockwool or plugs; keep 20–25°C (68–77°F) and moist.
- Mix nutrients: Fill reservoir, add A/B nutrients per label; start weaker for seedlings.
- Set pH: Aim 5.8–6.2 for greens; 6.0–6.5 for fruiting crops.
- Transplant: Move seedlings when roots emerge; seat plugs in net pots with medium.
- Provide light: Indoors 12–16h for greens; outdoors 6–8h full sun.
- Maintain: Check water daily; monitor pH/EC; observe leaves and growth.
- Harvest: Cut outer leaves first for ongoing harvest; or harvest full heads/fruit when mature.
Nutrients, pH & EC — Simple Rules
1) Nutrients
- Use a balanced hydroponic formula (often two-part A & B).
- Seedlings: start at ¼–½ strength; increase as plants mature.
- Avoid garden fertilizers — not designed for hydro systems.
2) pH
- Greens & herbs: 5.8–6.2
- Fruiting crops: 6.0–6.5
- Adjust gradually with pH Up/Down; recheck after 24 hours.
3) EC / TDS
- EC is nutrient strength (mS/cm); TDS is ppm.
- Greens: 0.8–1.4 EC; Fruiting: 1.5–2.5 EC.
- Increase slowly; watch for leaf color/burn.
Quick Troubleshooting
- pH high: slow uptake, deficiency signs → lower pH.
- pH low: toxicity risk → raise pH mildly.
- EC high: edge burn/curl → dilute with fresh water.
- EC low: pale leaves, slow growth → increase strength.
Pro tip: If budget is tight, prioritize a pH meter/test kit; EC can come later.
Lighting & Environment
Lighting
Outdoors: 6–8 hours direct sun; use shade cloth in extreme heat.
Indoors: Efficient LED grow lights; hang 30–45 cm (12–18 in) above greens. Use a timer:
- Leafy greens: 12–16h light/day
- Fruiting plants: 14–18h light/day
Temperature

- Greens: 18–24°C (65–75°F)
- Fruiting: 20–27°C (68–81°F)
- Nutrient solution: keep 18–22°C (65–72°F) to avoid root stress.
Humidity
- Greens: 50–70% RH
- Fruiting: 40–60% RH
Airflow & Lightproofing
- Use a small oscillating fan indoors; strengthens stems and prevents fungus.
- Keep reservoirs opaque and covered to prevent algae and heat gain.
Pro tip: Pair a light timer with a small exhaust fan for a near hands-off setup.
Common Beginner Mistakes
- Skipping pH checks — nutrient uptake suffers even with good fertilizer.
- Using tap water without testing — hard/chlorinated water causes imbalances.
- Overfeeding nutrients — strong solutions burn roots and leaves.
- Insufficient light for fruiting crops — leads to weak plants and few fruits.
- Poor oxygenation in DWC — always run a reliable air pump.
- Reservoir exposed to light — algae competes for nutrients.
- Starting too complex — master DWC/Wick before aeroponics or multi-tier NFT.
Pro tip: Keep a grow journal for pH, EC, light hours, and observations.
Budget Setup Example
You don’t need to spend hundreds to start. Build this simple Deep Water Culture (DWC) system for roughly $50.
| Item | Approx. Cost | Notes |
|---|---|---|
| 5-gallon opaque bucket with lid | $10 | Opaque prevents algae; lid supports net pots. |
| Net pots (3–5) & clay pebbles | $8 | Keeps roots stable and aerated. |
| Small air pump + air stone | $15 | Provides oxygen to roots. |
| Hydroponic nutrients | $12 | Balanced 2-part formula for greens. |
| pH test kit | $5 | Monitor and adjust acidity. |
Assembly Steps
- Drill lid holes for net pots.
- Fill bucket, add nutrients, adjust pH.
- Place seedlings in net pots with clay pebbles.
- Connect air stone to pump; place in bucket.
- Power on the pump and grow.
Upgrade later: add another bucket or convert to a drip system using the same reservoir and nutrients.
Common Problems & Fixes
1) Yellow Leaves
Causes: pH out of range, nitrogen/iron deficiency, weak light.
Fix: Adjust pH first; gently increase nutrients; improve light.
2) Wilting or Slow Growth
Causes: Low oxygen at roots, blocked flow in NFT/drip, warm reservoir.
Fix: Verify air pump; clear tubing; cool solution (frozen bottles or chiller).
3) Tip Burn on Lettuce
Causes: Nutrients too strong, low airflow, too much light.
Fix: Dilute to lower EC; add a fan; raise lights slightly.
4) Algae Growth
Causes: Light hitting the reservoir.
Fix: Opaque containers, tight lids, clean surfaces.
5) Fungus Gnats or Aphids
Fix: Yellow sticky traps for gnats; neem oil or beneficial insects for aphids; maintain airflow and hygiene.
Rule of thumb: First check pH, EC, and oxygenation before buying new gear.
Maintenance Schedule
Daily
- Quick plant check for stress, discoloration, pests.
- Top up water if needed.
- Test pH to keep it in range.
Weekly
- Wipe salt residue from lids, buckets, and trays.
- Tidy tubes/wires; ensure pumps and timers run on schedule.
- Top up nutrients during heavy growth.
Every 1–2 Weeks
- Replace nutrient solution in small home systems.
- Clean filters and air stones; inspect pumps/tubing.
Between Crops
- Deep clean and rinse reservoirs.
- Sanitize with mild bleach or hydrogen peroxide.
- Replace worn tubing, cracked net pots, tired air stones.
Pro tip: Keep a simple maintenance log; it saves guesswork later.
Tools & Supplies Checklist
System Components
- Chosen hydroponic system (DWC bucket/tote, NFT channels, drip kit, etc.)
- Net pots (various sizes)
- Growing medium (clay pebbles, rockwool, coco coir)
- Opaque reservoir with tight-fitting lid
- Water pump (NFT/drip/ebb & flow) or air pump + air stone (DWC)
- Tubing, valves, and a timer (for timed systems)
Nutrients & Testing
- Hydroponic nutrients (2-part A/B or complete formula)
- pH test kit or digital pH meter
- pH Up and pH Down solutions
- Optional: EC/TDS meter
Lighting & Environment
- LED grow light sized to your area
- Timer for light cycles
- Small oscillating fan
- Thermometer/hygrometer
Miscellaneous & Maintenance
- Measuring spoons/jugs for mixing nutrients
- Gloves for handling chemicals
- Paper towels/soft cloths
- Spare air stones, tubing, connectors
Pro tip: If you plan to scale, buy slightly oversized pumps/lights now to save later.
Is hydroponics expensive to start?
Can I grow any plant hydroponically?
How often do I change the water?
Do hydroponic plants taste different?
Do I still get pests in hydroponics?
How much electricity does hydroponics use?
Do I need grow lights if I have a sunny window?
What’s the best temperature for the nutrient solution?
Can I reuse my nutrient solution?
🌱 Related Guides
- Hydroponic Lettuce — Beginner’s guide for crispy greens.
- Hydroponic Basil — Step-by-step herb growing.
- Hydroponic Herbs — Starter list and tips.
- Hydroponic Tomatoes — Fruiting crop basics, lighting, pruning.
- Hydroponic Strawberries — Sweet results in small spaces.
- Hydroponic Broccoli — Best varieties & timing.
- Hydroponic Rosemary — Timeline & pruning.
- Hydroponic Tower — Vertical systems for tight spaces.
- Hydroponic Root Microbiome — Beneficial microbes & root health.