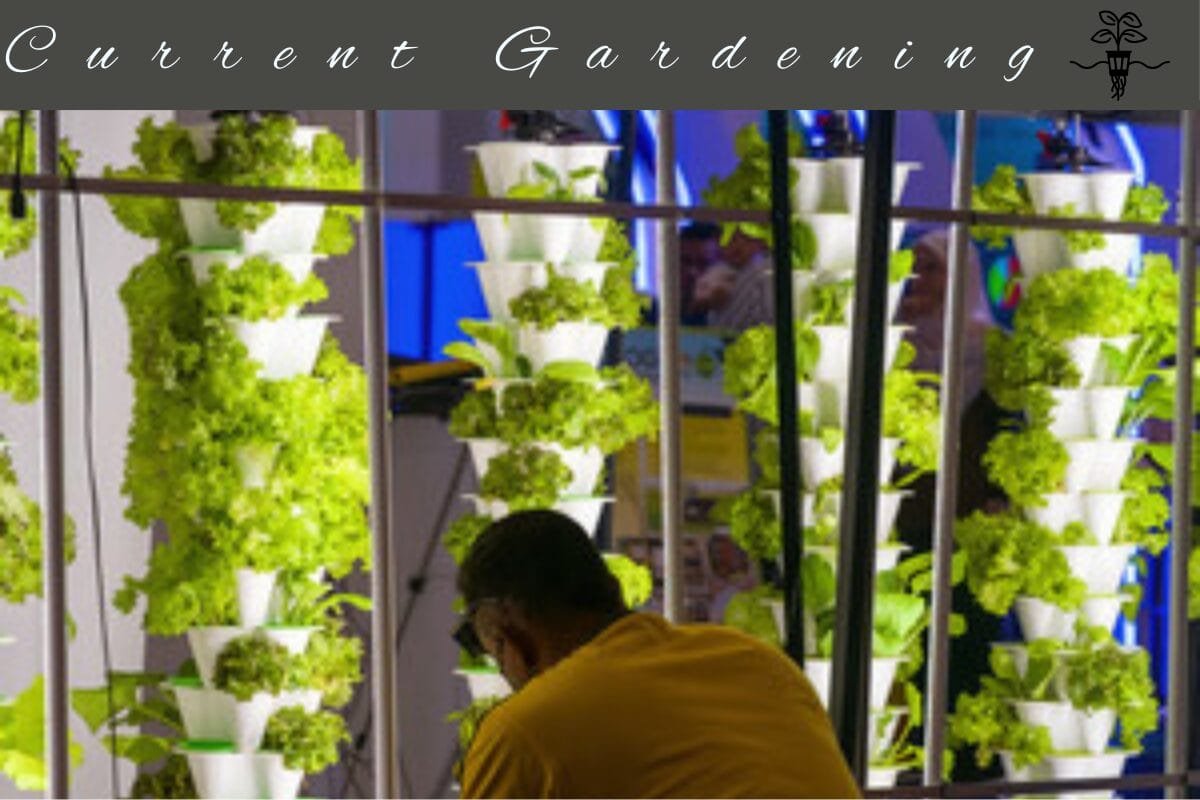
What if I told you that you could grow your favorite plants at home, even if you don’t have a garden? Hydroponic tower gardening is the answer, and it’s easier on the wallet than you might think. In this article, we’re going to walk you through everything you need to know about starting your own hydroponic tower garden without spending a fortune. From sourcing affordable materials to creative DIY ideas, we’ll help you get started on your gardening journey. Ready to turn your indoor space into a thriving green oasis? Let’s get started!
What is a Hydroponic Tower?
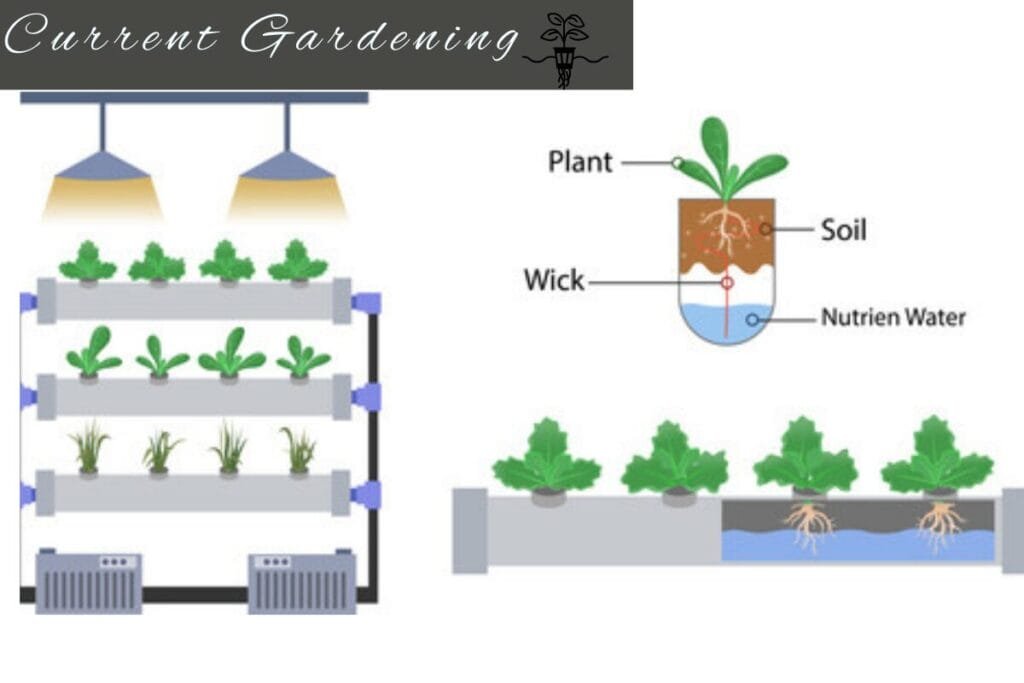
A hydroponic tower is a vertical gardening system that allows you to grow plants without soil. Instead, the plants grow in nutrient-rich water, which provides them with all the essential nutrients they need. This method is not only space-efficient but also highly productive, making it ideal for small spaces like apartments or urban homes. Did you know that hydroponic systems can use up to 90% less water than traditional soil gardening? It’s an eco-friendly way to grow your own food!
Getting Started with Hydroponic Tower Gardening
Choosing Your Location
When choosing a location for your hydroponic garden tower, consider both indoor and outdoor options. For indoor setups, find a spot near a window with plenty of natural light. Alternatively, you can use grow lights to ensure your plants get enough light. If you’re setting up outdoors, make sure the area gets enough sunlight and is protected from strong winds.
Materials Needed for Your Hydroponic Grow Tower
You don’t have to spend a fortune to start your hydroponic grow tower. Here are some budget-friendly materials you can use:
- PVC pipes: These are affordable and easy to find at any hardware store.
- Plastic bottles: Upcycle old plastic bottles to create plant holders.
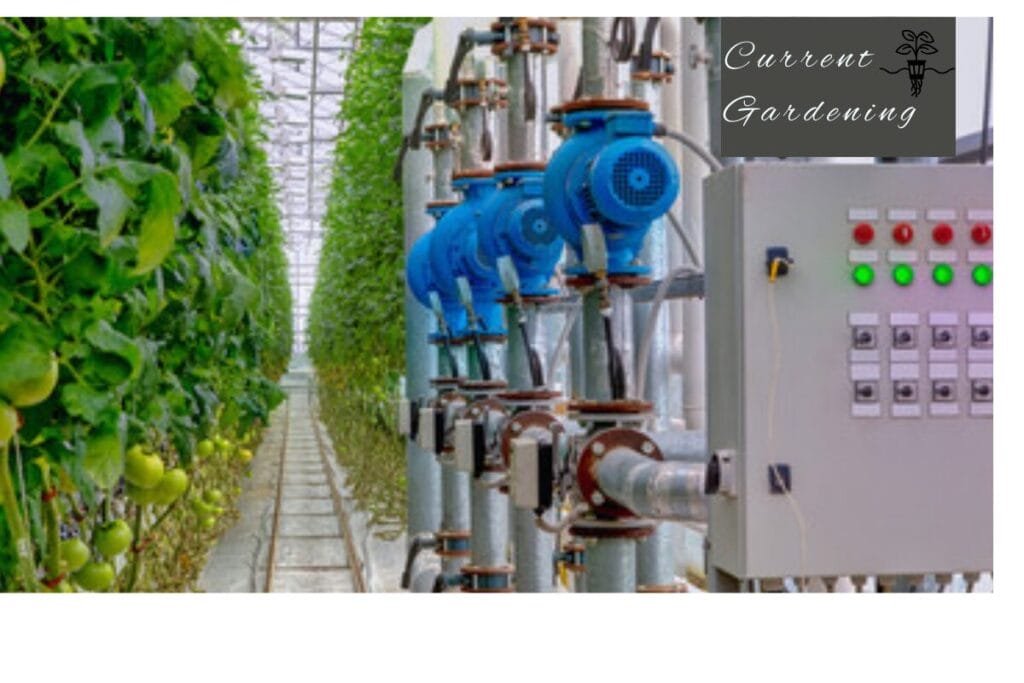
- Submersible water pump: Essential for circulating nutrient-rich water.
- Grow lights: If natural light is limited, invest in energy-efficient LED grow lights.
- Nutrients: You can find cost-effective hydroponic nutrients online or at local gardening stores.
Building Your Own Hydroponic Tower
DIY Hydroponic Tower
Building your own hydroponic tower is easier than you might think. Here’s a simple step-by-step guide:
- Cut PVC pipes to the desired height for your tower.
- Drill holes in the pipes where you’ll insert the plant holders (plastic bottles work great).
- Connect the pipes using elbows and connectors to create a stable tower structure.
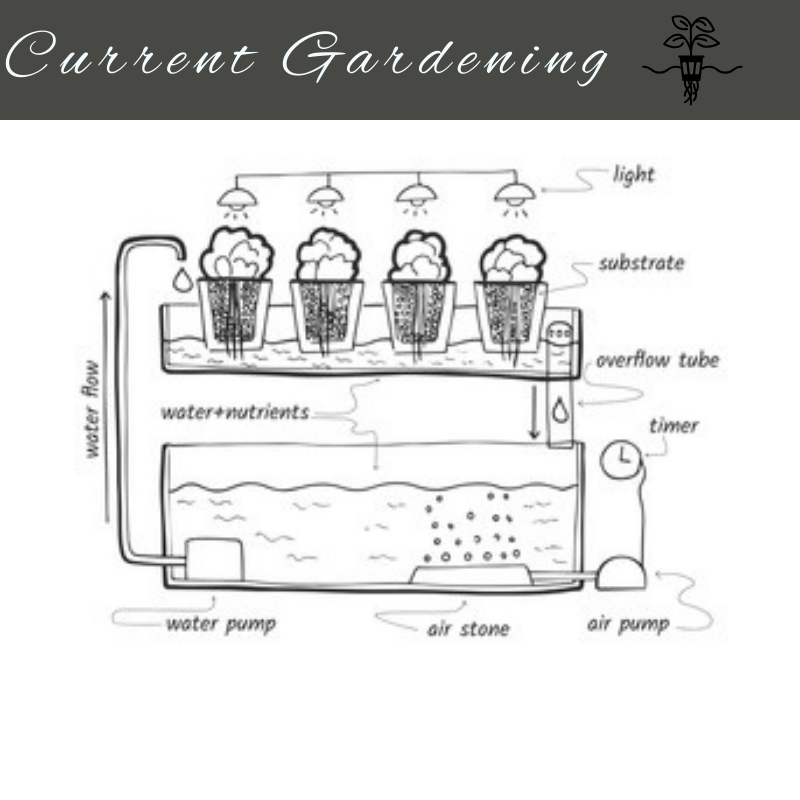
- Install the water pump at the base and run tubing through the tower to circulate the water.
- Fill the plant holders with a growing medium like coconut coir or perlite.
- Add your plants and start the water pump to begin circulating the nutrient solution.
Tips for a Successful Build
Building a hydroponic grow tower can come with its challenges, but here are some tips to help you succeed. I’ll also share how I implemented these tips in my personal hydroponic garden.
- Secure the Tower:
One of the first challenges I faced was making sure my tower was stable. The initial setup was a bit wobbly, which made me nervous. I used zip ties and additional PVC pipe supports to stabilize the structure. Adding extra weight at the base with some stones also helped keep everything steady. This simple fix gave me peace of mind and ensured my plants wouldn’t take a tumble.
- Check for Leaks:
Before adding plants, it’s crucial to test your water system for leaks. During my first build, I noticed a small leak where two pipes connected. I used waterproof tape to seal the connection, which worked perfectly. A quick tip: run the system for a few hours with just water before planting to catch any leaks early on. This saves you from potential headaches later.
- Monitor Water Levels:
Regularly checking water levels is key to keeping your plants hydrated. I set up a simple reminder on my phone to check the water levels every other day. In the beginning, I underestimated how quickly the water could deplete, especially on hot days. Now, I keep a close eye on the levels and top up the reservoir as needed. This routine has become second nature and keeps my plants happy and healthy.
- Use Quality Grow Mediums:
Choosing the right growing medium can make a big difference. I experimented with coconut coir and perlite, and found that a mix of the two worked best for my plants. The coconut coir retains moisture well, while the perlite provides good aeration. This combination has resulted in vigorous growth and healthy roots.
- Install a Timer for the Water Pump:
To ensure consistent nutrient delivery, I installed a timer for the water pump. Initially, I tried to manually turn the pump on and off, but it became too cumbersome. A timer automates the process and ensures the plants get a regular supply of nutrients. I set the timer to run the pump for 15 minutes every hour, which has been a game-changer for maintaining a healthy garden.
Maintaining Your Hydroponic Tower Garden
Keeping your hydroponic garden tower thriving doesn’t have to be expensive. Here are some tips for sourcing affordable nutrients and supplies:
- Buying in bulk
can save you a lot of money. I remember finding a great deal on a large supply of hydroponic nutrients online, and it lasted me an entire season! If you’re into DIY, you can also create your own nutrient solution using everyday household items. There are plenty of recipes available that use things like Epsom salts and household ammonia.
- Monitoring pH Levels
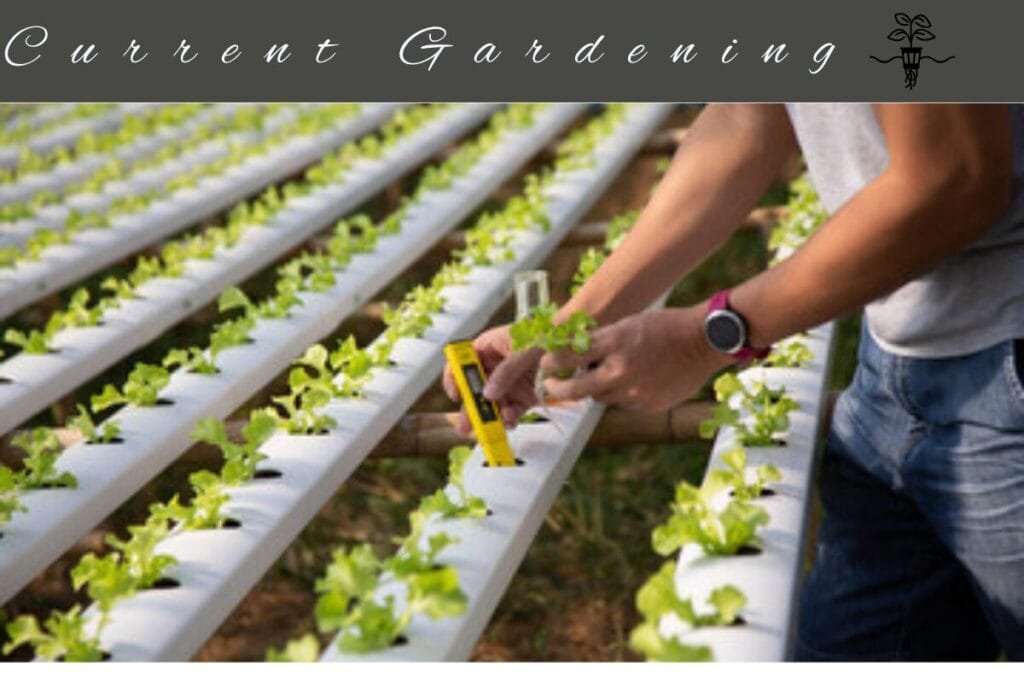
Monitoring pH levels is crucial. The pH level of your nutrient solution should ideally be between 5.5 and 6.5. Too high or too low, and your plants won’t be able to absorb nutrients properly. I use a simple pH testing kit that I bought from a local gardening store. It’s easy to use and gives accurate readings. Adjusting the pH is straightforward with pH up or down solutions, which are also affordable.
- Regular Plant Inspection
Regular inspection of your plants is key to catching any issues early. Look for signs of pests or disease. I once noticed tiny white spots on my basil leaves and quickly identified it as an aphid infestation. A homemade soap spray took care of it in no time.
- Pruning and Trimming
Pruning and trimming are also important. It might seem counterintuitive to cut back your plants, but regular pruning encourages new growth and keeps your hydroponic tower garden from becoming overcrowded. I make it a point to trim my plants once a week. It’s a small time investment that pays off with healthier, more robust growth.
Maintaining your hydroponic tower garden involves a bit of effort, but with these tips, you’ll find it manageable and rewarding. Your plants will thank you with lush, vibrant growth!
Creative Low-Cost Ideas for DIY Hydroponic Towers
Building a unique DIY hydroponic grow tower on a budget can be a fun and rewarding experience. Here are some creative DIY ideas to get you started, along with some personal experiences to inspire your own project.
Repurposing Household Items
One of the best ways to save money is by using items you already have at home. When I first started my hydroponic garden tower, I rummaged through my recycling bin and found plenty of plastic bottles. They turned out to be perfect for creating plant holders. Here’s how you can do it:
- Plastic Bottles:
Cut the tops off plastic bottles and use the bottom halves as individual plant holders. Stack them in a vertical arrangement using a sturdy frame or connect them with string. This setup is not only cost-effective but also helps reduce waste.
- Storage Bins:
Old storage bins can make excellent reservoirs for your nutrient solution. I found an unused bin in my garage and drilled a hole in the lid to fit the water pump. It worked perfectly and saved me from buying a new container.
Upcycling for Hydroponic Gardening
Upcycling involves giving new life to old items. It’s an eco-friendly approach and can add a unique touch to your garden:
- Mason Jars:
Mason jars are not just for canning! I used a set of old mason jars to create a stylish herb garden. Simply fill the jars with a growing medium and place them in a wooden crate or on a shelf. They look great and are easy to manage.
- Wooden Pallets:
Wooden pallets can be transformed into a sturdy frame for your DIY hydroponic tower. I once found a pallet at a local market and used it to build a vertical garden. After some sanding and a fresh coat of paint, it became the perfect backdrop for my plants.
- Buckets and Tubs:
Old buckets or tubs can be converted into reservoirs for your DIY hydroponic system. I had some extra paint buckets lying around and repurposed them to hold nutrient solutions. They were durable and easy to clean.
Personal Touches
Adding personal touches can make your hydroponic tower truly unique:
- Customized Plant Holders:
I painted my plastic bottle plant holders in vibrant colors. It added a splash of color to my garden and made it more visually appealing.
- Decorative Elements:
I incorporated small decorative items like fairy lights and garden gnomes to give my garden a whimsical feel. It’s a simple way to make your garden stand out.
By using these creative DIY ideas, you can build a functional and attractive hydroponic grow tower without breaking the bank. Not only will you save money, but you’ll also have the satisfaction of knowing that you created something unique with your own hands.
Troubleshooting
Keeping an eye on your plants and addressing issues promptly is key to maintaining a healthy hydroponic garden. Here’s how I identify problems and how I’ve overcome them:
- Identifying Problems
One day, I noticed my plants weren’t looking as vibrant as usual. Some leaves were turning yellow, and others had spots. To find the problem, I inspected the plants closely. Yellowing leaves can indicate a nutrient deficiency, while spots might suggest pests or disease. Regular observation is crucial. I make it a habit to check my plants daily for any changes in color, growth, or overall health.
- Overcoming Nutrient Deficiencies
When I first encountered yellowing leaves, I suspected a nutrient imbalance. I tested the pH of my nutrient solution and found it was slightly off. Adjusting the pH to the optimal range (5.5 to 6.5) helped, but I also tweaked my nutrient mix, ensuring my plants got the right balance of essential elements like nitrogen, potassium, and phosphorus. This adjustment brought my plants back to their healthy green state.
- Dealing with Pests
Pests can be a real nuisance. I once found tiny aphids on my basil plants. To tackle this, I mixed a simple soap spray using water and a few drops of dish soap. Spraying this solution on the affected leaves helped eliminate the pests without harming the plants. Regularly cleaning the system and keeping the growing area tidy also helps prevent future infestations.
- Managing Algae Growth
Algae growth in the nutrient reservoir can be problematic. I noticed green slime forming in my tank, which can compete with plants for nutrients. To fix this, I covered the reservoir with an opaque material to block out light, which algae need to grow. Keeping the system clean and using covers has kept algae at bay since then.
By staying vigilant and addressing issues as they arise, you can ensure a thriving hydroponic tower garden. Happy gardening!
Conclusion
Hydroponic tower gardening is a fantastic way to grow fresh, healthy produce at home without spending a fortune. By using budget-friendly materials, repurposing household items, and following the tips and tricks shared in this guide, you can create and maintain your very own hydroponic garden toxer. Happy gardening!
